Portrait to bas relief
A portrait relief works best when the face is clearly lit and the outline is visible. It represents the photograph as a raised surface, rather than reconstructing a complete head.
Create a portrait plaque
- Long side (mm)
- 100 mm
- Relief depth (mm)
- 6 mm
- Base thickness (mm)
- 2 mm
- Surface direction
- Raised
Starting values for a design study. Check the generated file before making it.
An image. A relief. Your next project.
AI-created source images, converted with Meshy Relief via FAL. These are actual model renders; no physical prints or carvings have been tested.
A portrait with a little more dimension
A fictional portrait shows how soft light and an unobstructed face translate into a relief study for a personal gift.
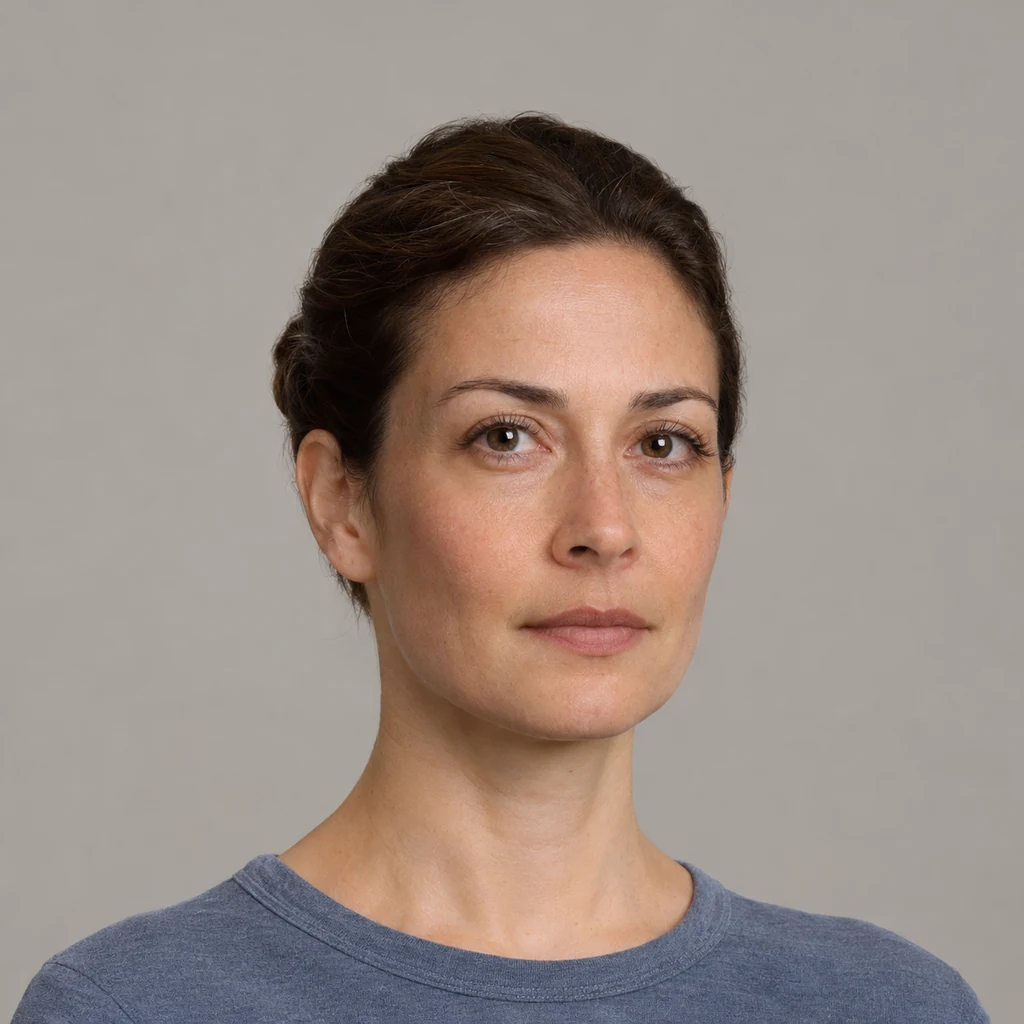
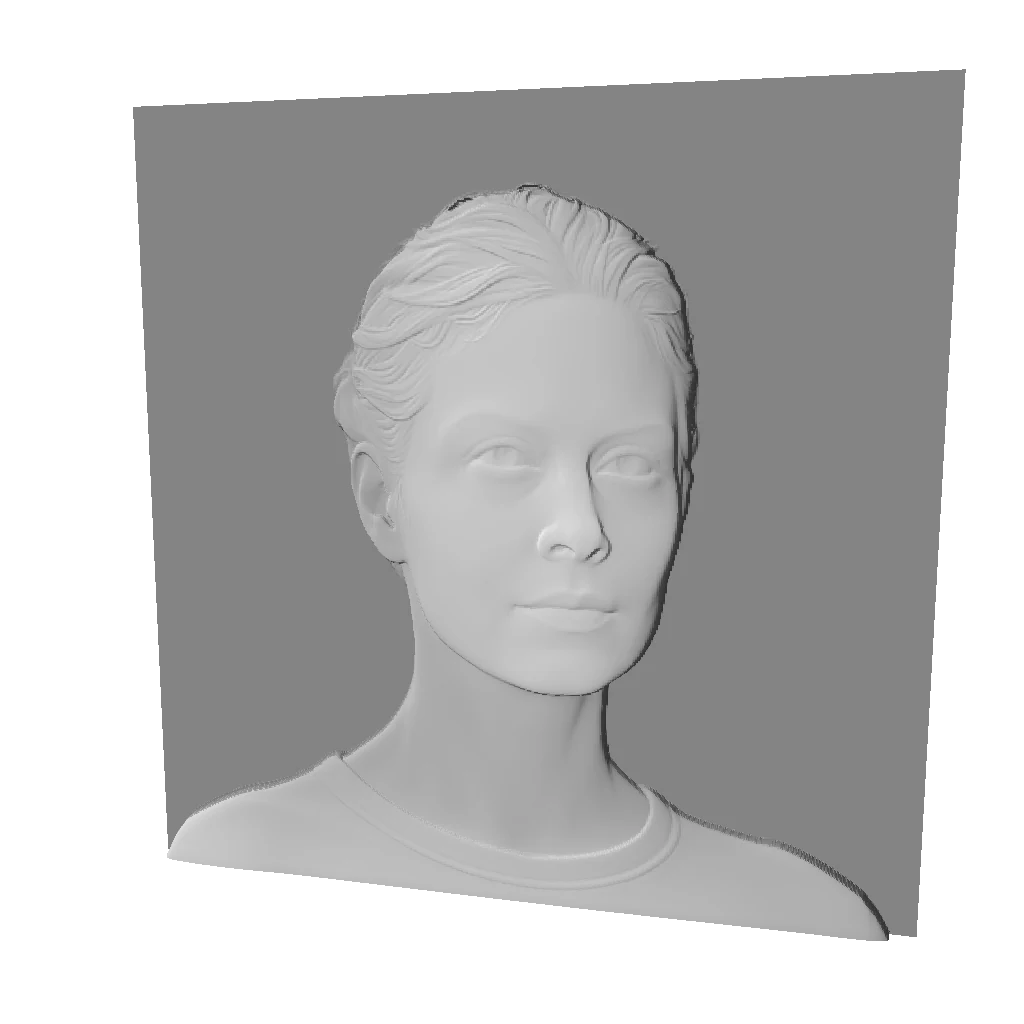
The face, hair and collar form distinct layers. The inferred shape is not a precise scan, and likeness is not guaranteed.
Explore this workflow- Longest side
- 100 mm
- Relief depth
- 4 mm
- Base
- 2 mm
Embossed · base retained · no bend · mesh 512
Choose this kind of image
A front or slight three-quarter view, soft light, the complete hairstyle and an unobstructed face.
Choose another image if…
Strong side lighting, wide-angle close-ups, heavy retouching or overlapping faces.
Choose light that reveals the face
Use soft, even lighting. Strong shadows across the nose can be mistaken for geometry. Avoid beauty filters, motion blur and a hand covering the face.
Leave breathing room around hair
Keep the full hair outline inside the crop. Wispy strands can create fragile features; a continuous base often makes a more robust portrait plaque.
Review proportions before printing
Start at 100 mm with high relief, then inspect nose, lips and eye sockets from several angles. A deeper setting increases projection but cannot fix an unclear source photograph.
Before generating again
- The nose projects too far or eye sockets look too deep
- Inspect shadows in the source, then reduce relief depth. Depth adjustments compress the surface; they cannot recover facial structure missing from the photo.
- The hair outline is cut off
- Return to the original view, zoom out and reposition the crop to retain the top of the head and shoulders. Saved projects retain the original photo for recropping while it remains available.
Questions about this workflow
Can I use a wedding photo or a couple portrait?
Try a photo with both faces clear, similarly sized and unobstructed. Multiple subjects make inference harder. Check the crop locally, then inspect each face after generation.
Will the relief be an exact likeness?
An exact likeness is not guaranteed. Lighting and occlusion require inference. For an important keepsake, compare front and side views before revising the image or arranging a small test print.
Should I choose relief or a lithophane?
Choose relief to read the face through surface shape and side lighting. A backlit photographic image needs a lithophane workflow. This tool produces surface relief files.