Depth maps for laser engraving
A relief depth map can be an input to a compatible engraving workflow. It does not directly specify laser power, passes or material removal depth; those depend on your machine and material.
Prepare the engraving input
- Long side (mm)
- 100 mm
- Relief depth (mm)
- 1 mm
- Base thickness (mm)
- 2 mm
- Surface direction
- Raised
Starting values for a design study. Check the generated file before making it.
An image. A relief. Your next project.
AI-created source images, converted with Meshy Relief via FAL. These are actual model renders; no physical prints or carvings have been tested.
Botanical artwork for a decorative panel
A flower and flowing acanthus leaves become a 150 mm relief study with shallow contours for a decorative panel.
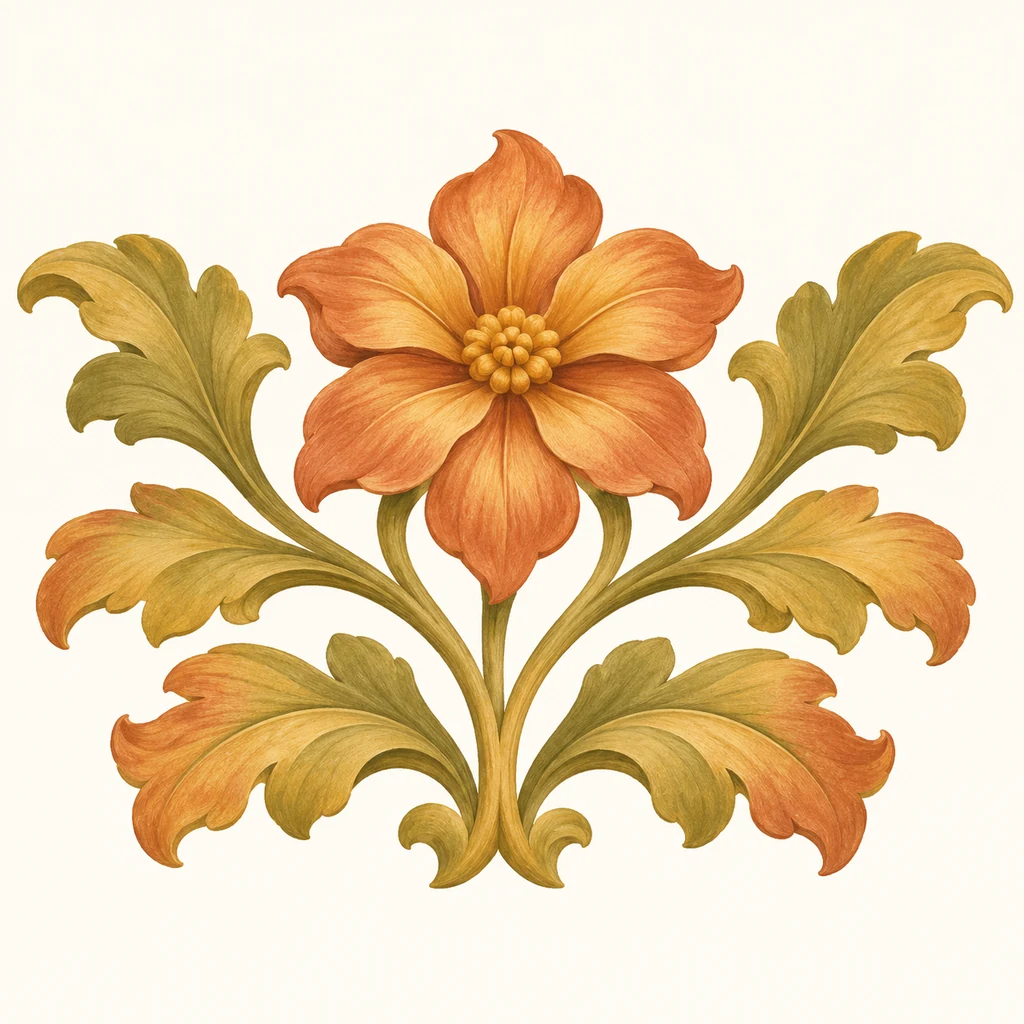
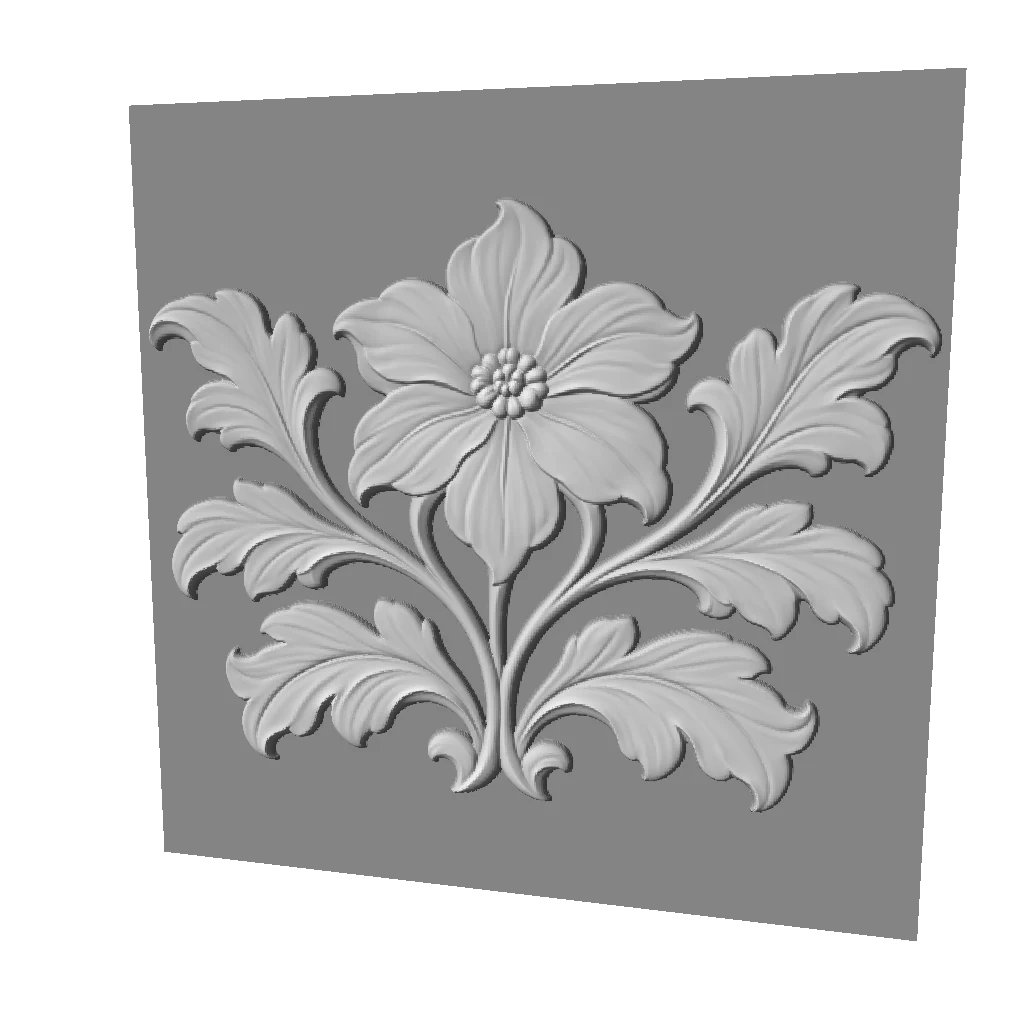
Petals and leaf veins form continuous contours. These are shape and depth files; check tool access and create toolpaths in CAM before machining.
Explore this workflow- Longest side
- 150 mm
- Relief depth
- 3 mm
- Base
- 3 mm
Embossed · base retained · no bend · mesh 512
Choose this kind of image
Distinct tonal layers, a simple background and a clear decision about what to engrave or preserve.
Choose another image if…
Expecting image depth in millimeters to directly equal material removal, or using an untested power table.
Check your software workflow
Confirm how your version of LightBurn or other engraving software interprets grayscale before importing a depth map. A normal photograph engraving workflow and a layered depth workflow are different.
Decide which areas should be recessed
Use the surface direction setting to invert the model depth. Inspect the generated PNG before applying any additional inversion in the laser software, so the map is not accidentally inverted twice.
Make a material test first
Start with a small sample on the actual material. The same gray value can yield different results on wood, coated surfaces and metals. No universal power or speed profile is provided.
Before generating again
- The light and dark direction is reversed
- Check the generation carving direction and the engraving software inversion separately. Inspect the original PNG, then change one setting at a time and make a small test.
- Details merge into a flat patch
- Review image contrast, physical output size and the material test. Increasing relief depth in millimeters is not a shortcut to better laser results.
Questions about this workflow
Does 1 mm in the editor mean engraving 1 mm deep?
No. Editor depth describes model geometry, not laser material removal. Actual depth depends on the machine, material, power, speed and passes, and requires material testing.
Should I use the thumbnail or the depth PNG?
Use the original 16-bit depth PNG from the results page. The thumbnail is downsampled to 8-bit for browsing. Confirm that later software preserves the levels your workflow needs during import and export.
Is there a universal power and speed setting?
No. This tool generates images and models, not machine-ready laser settings. Test on your own machine and actual material before making the final piece.